How to Memorize All the Bones in the Body: Ultimate Memory Guide
As Henry Gray, an anatomy educator for over twenty years, I’ve seen countless students face the same initial panic. Looking at a chart of all 206 bones in the human body can feel overwhelming, especially if you’re a medical, nursing, or anatomy student. The sheer volume of unfamiliar names and locations creates a genuine challenge. But there’s good news: by combining strategic memory techniques like chunking, mnemonics, visualization, and spaced repetition, you can master this fundamental knowledge more effectively than traditional rote memorization.
These methods are not just theoretical, they are backed by cognitive science and have been proven successful by my students for years. By breaking down the skeleton into manageable regions and applying specific memory techniques to each group, you’ll transform a big challenge into an achievable goal. These are the most effective methods I’ve seen students use heading into 2025.
Step 1: Identify the Main Bone Regions
The first thing I tell my students is to stop thinking about it as ‘206 bones.’ Instead, let’s organize. Start by dividing the skeleton into its two major divisions: the axial and appendicular skeletons. This gives you the big picture before you look at the details.
A quick note on the count: The 206 bones are typically broken down this way. If your textbook has slightly different groupings, don’t worry, the total is the same!
| Division | Subregion | Number of Bones |
| Axial Skeleton | Skull, Vertebrae, Ribs, etc. | 80 |
| Appendicular Skeleton | Limbs and Girdles | 126 |
This simple division immediately makes the task more manageable.
Step 2: Chunk Bones into Smaller Groups
Now, we will further divide each region into smaller, more logical subgroups.
Axial Skeleton (80 bones)
Skull (22 bones):
Cranial bones (8): Frontal (1), Parietal (2), Temporal (2), Occipital (1), Sphenoid (1), Ethmoid (1)
Facial bones (14): Nasal (2), Maxillae (2), Zygomatic (2), Palatine (2), Lacrimal (2), Inferior nasal conchae (2), Vomer (1), Mandible (1)
Auditory Ossicles (6 bones): These tiny bones in the middle ear are Malleus (2), Incus (2), Stapes (2).
Hyoid Bone (1 bone): Located in the throat.
Vertebral Column (26 bones):
Cervical vertebrae (7), Thoracic vertebrae (12), Lumbar vertebrae (5), Sacrum (1), Coccyx (1)
Thoracic Cage (25 bones):
Sternum (1), Ribs (24)
Appendicular Skeleton (126 bones)
Pectoral Girdles (4 bones): Clavicle (2) and Scapula (2)
Upper Limbs (60 bones): Humerus (2), Radius (2), Ulna (2), Carpals (16), Metacarpals (10), Phalanges (28)
Pelvic Girdle (2 bones): Hip bones (2)
Lower Limbs (60 bones): Femur (2), Patella (2), Tibia (2), Fibula (2), Tarsals (14), Metatarsals (10), Phalanges (28)
Chunking information this way aligns with how our memory naturally processes information, making retention significantly easier.
Step 3: Create Memorable Mnemonic Devices
Mnemonics are a student’s best friend. They transform abstract bone names into memorable phrases. Honestly, the sillier the better, because our brains are wired to remember the absurd.
For cranial bones: “Old People From Texas Eat Spiders” (Occipital, Parietal, Frontal, Temporal, Ethmoid, Sphenoid)
For facial bones: “Virgil Can Not Make My Pet Zebra Laugh” (Vomer, Conchae, Nasal, Maxilla, Mandible, Palatine, Zygomatic, Lacrimal)
For carpal bones (proximal to distal row): “Sally Likes To Play; Try To Catch Her” (Scaphoid, Lunate, Triquetrum, Pisiform; Trapezium, Trapezoid, Capitate, Hamate)
For commonly confused bone pairs:
Radius vs. Ulna: “Radius connects to the thumb side.” (Think “Rad” thumbs up!)
Tibia vs. Fibula: The Tibia is the Thick bone in front; the fibula is finer and lateral.
You can create your own mnemonics for other groups using first letters plus a silly story.
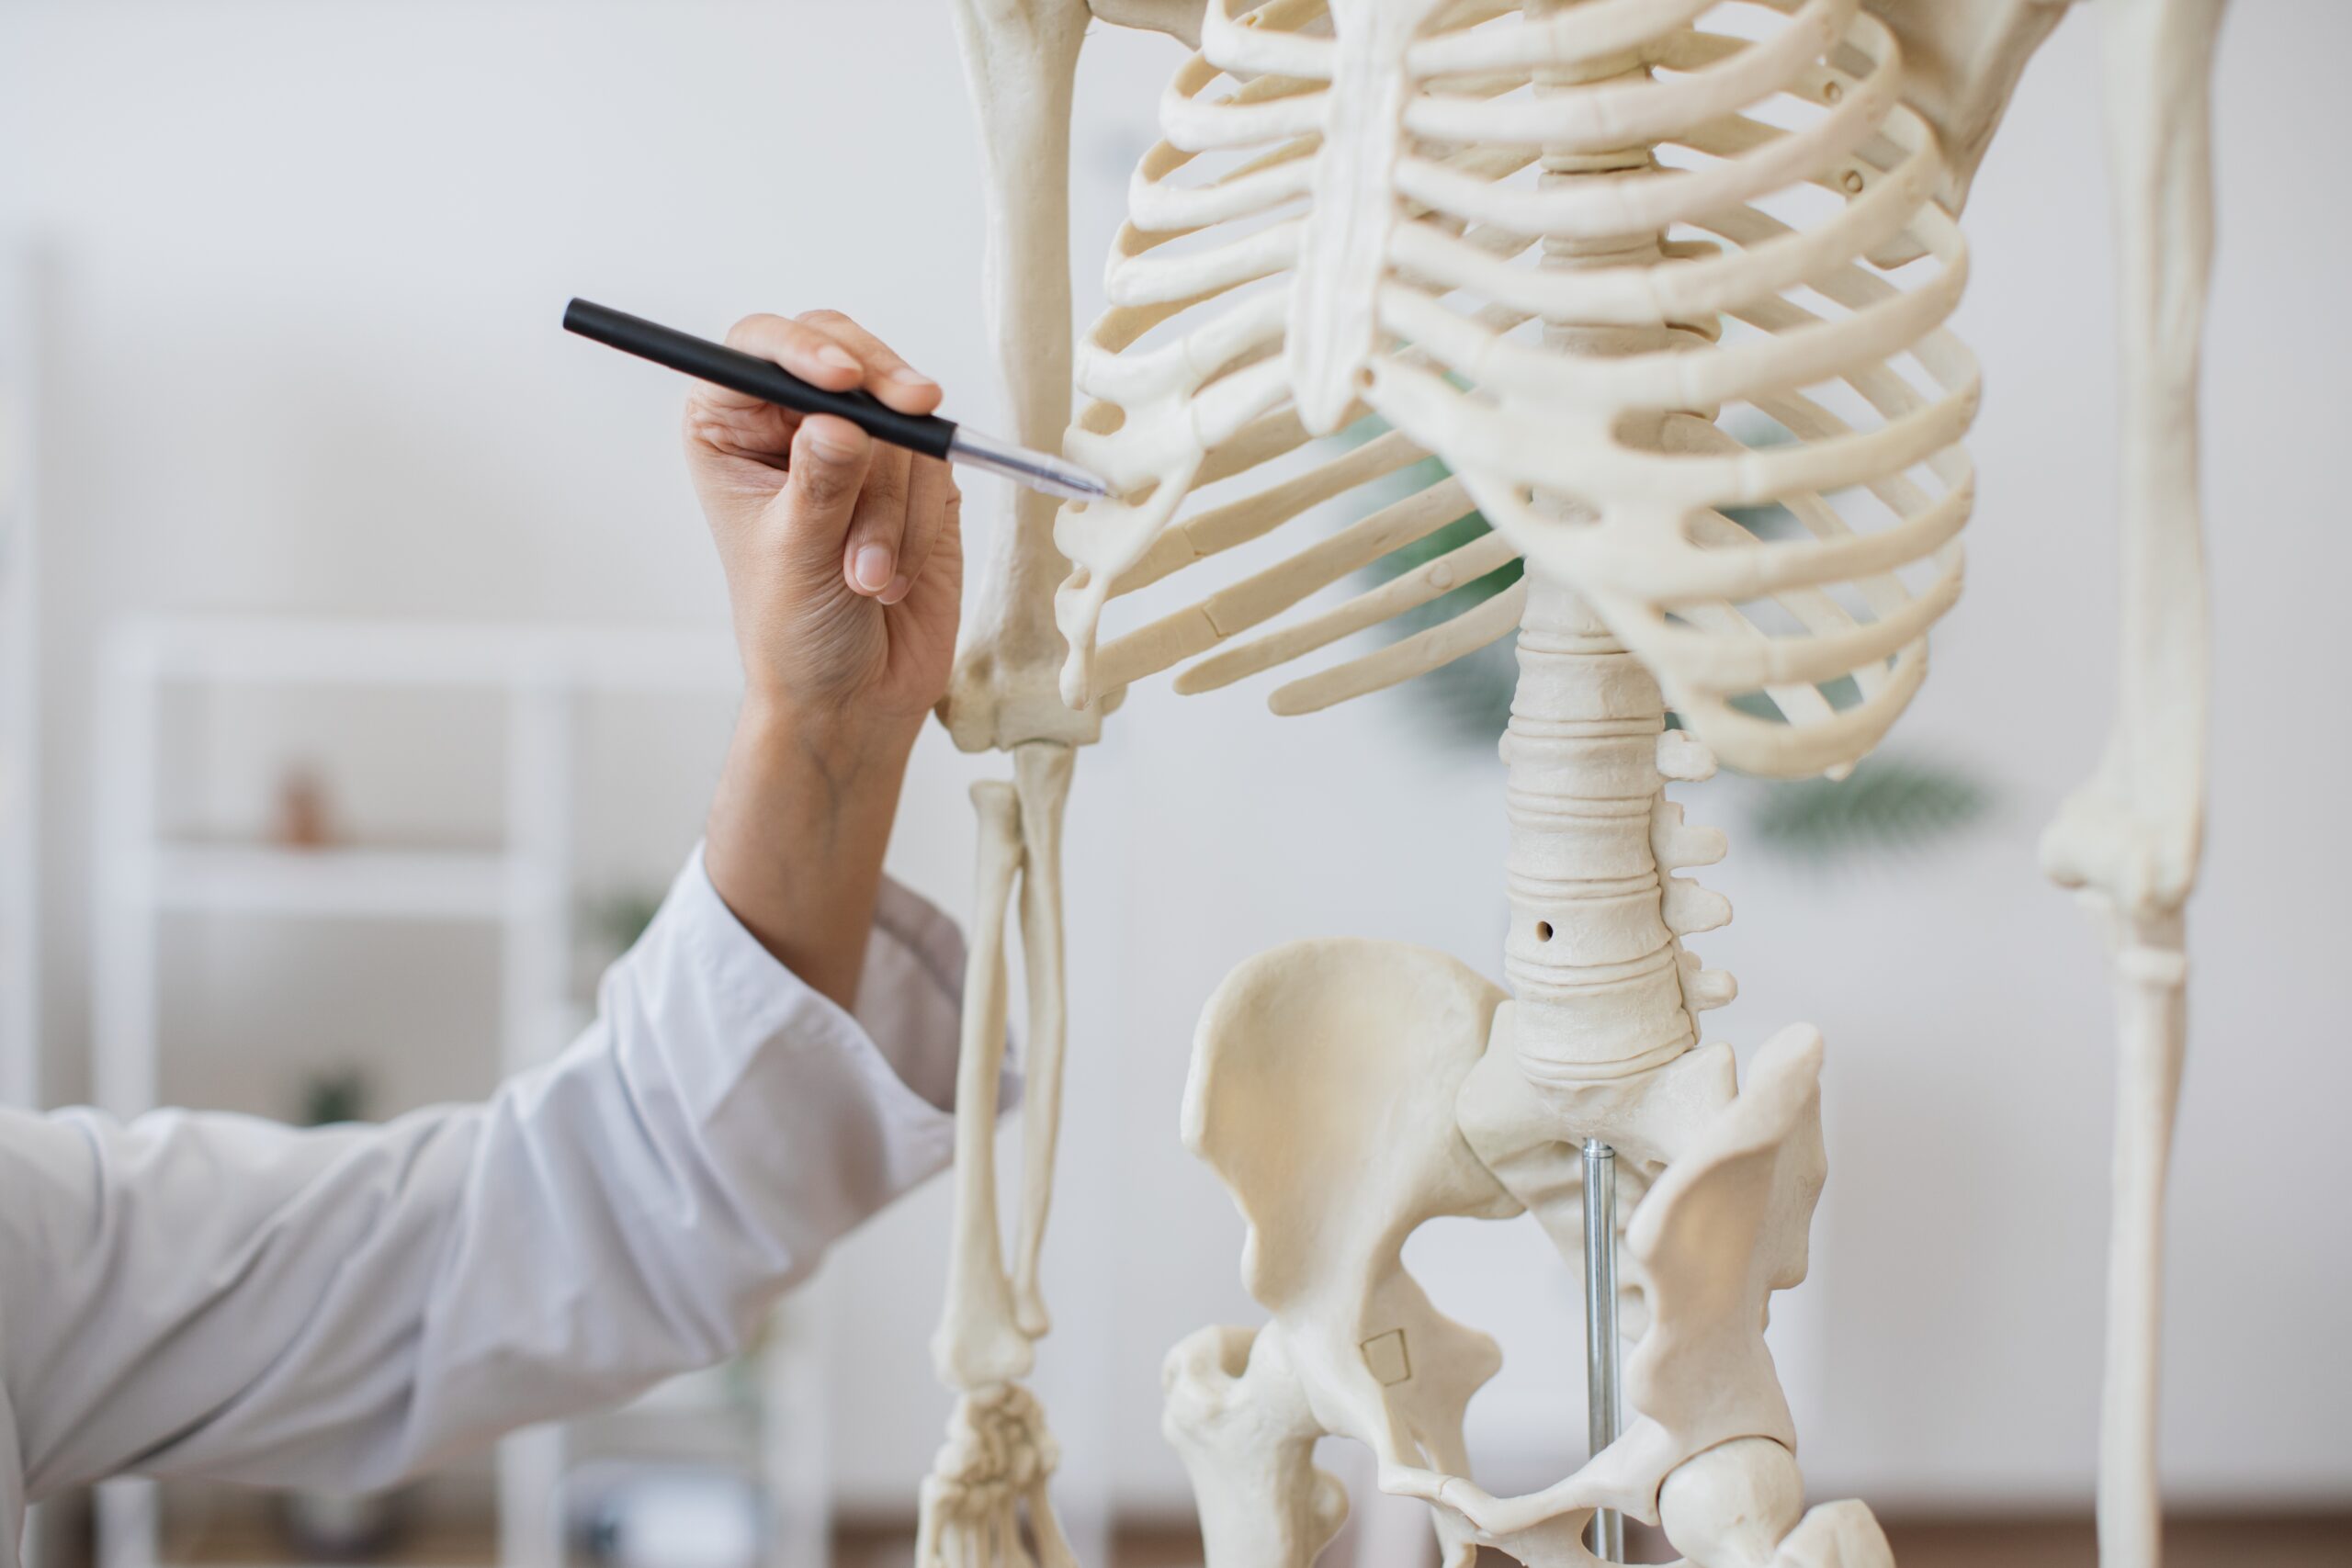
Step 4: Build and Leverage Visual Aids
Back when I started, we had plastic skeletons and dusty textbooks. Now, in 2025, the interactive tools available are incredible. Visual learning reinforces memory.
Digital Anatomy Platforms Comparison:
| Platform | Best Features | Student Cost | Pros | Cons |
| Complete Anatomy | High-detail 3D models, AR mode, courses | Subscription-based | Best visual quality, extensive features | Higher price point |
| Visible Body | Interactive 3D models, quizzes | Subscription-based | Good value, broad coverage | Less detailed than top-tier options |
| Kenhub | Clear illustrations, adaptive quizzes | Subscription-based | Excellent diagrams, strong memory tools | No 3D models |
| Quizlet | Flashcards, community content | Free & Paid Tiers | Budget-friendly, flexible | Variable content quality |
Color-code your own sketches by region (skull=red, vertebrae=blue, etc.)
Physically trace bone locations on a model or yourself while saying names aloud.
Study from multiple angles to understand 3D relationships.
Combining visual and tactile learning with verbal memorization activates multiple brain regions, strengthening recall.
Step 5: Apply Spaced Repetition and Active Recall
I’ve seen ‘A’ students emerge from those who were struggling, all by moving from cramming to a spaced repetition schedule. It feels slow at first, but the results speak for themselves.
| Review Session | Timing | Focus |
| Initial learning | Day 1 | Learn new bone group |
| First review | Day 3 | Active recall with feedback |
| Second review | Day 7 | Self-testing |
| Third review | Day 14 | Comprehensive review |
| Maintenance | Day 30+ | Periodic testing |
Tools like Anki and Quizlet automate this process. Create flashcards showing bone images on one side and names on the other, then test yourself repeatedly.
Step 6: Test and Reinforce Your Knowledge
- Multiple testing methods improve learning.
- Print blank diagrams and practice labeling them from memory.
- Have a study partner quiz you by pointing to bones on a model.
- Use online quizzes from platforms like Kenhub for immediate feedback.
Explain bone locations and functions to someone else. This is a powerful tool, if you can teach it, you know it. If your dog looks confused when you explain the clavicle, you might need to review.
You can also search for “learn all 206 bones in the body game” or “bones of the body quiz with answers” online to find interactive games that make practice fun. Regular testing identifies weak spots, allowing for focused review.
Step 7: Leverage Bone Name Meanings and Functional Relationships
Many bone names contain built-in memory clues.
- Foramen magnum: Latin for “great hole,” the large opening in the occipital bone where the spinal cord passes through.
- Linea aspera: Latin for “rough line,” a ridge on the posterior femur for muscle attachment.
- Atlas (C1): Named after the Greek titan who held up the world, this vertebra supports the skull.
- Axis (C2): Features the odontoid process that allows the atlas (and head) to rotate around it.
Use bone functions and articulations as memory aids:
- Protection function: Cranial bones form a “helmet” for the brain; ribs create a “cage” for vital organs.
- Joint relationships: Remember the elbow joint involves three bones (humerus, radius, ulna) forming a hinge.
Understanding these relationships helps you remember bone shapes and anatomical landmarks.
Step 8: Track Progress and Adjust Techniques
- Keep a simple learning log to monitor your effectiveness.
- Record which bone groups you have mastered.
- Note which areas need more attention.
- Document which techniques work best for different regions.
- Adjust your approach based on results (more mnemonics, different visuals, etc.).
- This self-awareness helps optimize your learning process.
Wrap-Up and Next Steps
By systematically applying these eight steps, you will build a comprehensive mastery of all 206 bones of the body.
Consistency is key. Spend 15-30 minutes daily rather than cramming for hours before exams. For continued practice, explore anatomy apps like Visible Body or Complete Anatomy, which offer interactive models and built-in quizzing functions.
Frequently Asked Questions
1. How to remember all the bones in the human body?
Use a multi-part approach: categorization (axial vs. appendicular), mnemonics for tricky groups, visual aids like 3D apps, and spaced repetition. Break the skeleton into regions, create memorable acronyms, study labeled diagrams, and test yourself with progressive intervals between reviews.
2. How to learn 206 bones’ names?
Do not try memorizing all 206 at once. I always say, “chunk it down.” Divide them into anatomical regions (skull, vertebrae, etc.), then master one group before moving to the next. Use flashcards and practice active recall.
3. What is the mnemonic device for remembering bones?
Different bone groups have specific mnemonics. For cranial bones: “Old People From Texas Eat Spiders.” For carpal bones: “Sally Likes To Play; Try To Catch Her”. You can find or create mnemonics for almost any group.
4. How long does it take to learn all the bones?
With focused daily study of 30-60 minutes, most students can learn all 206 bones in 2-3 weeks. However, true mastery with confident recall typically takes 4-6 weeks of consistent practice and review. The exact timeline depends on your learning style and consistency.
5. How do I distinguish between commonly confused bones?
Use associations. For radius vs. ulna, remember “Radius is on the thumb side.” For tarsal vs. carpal bones, think “CARpals for the car (hands on the wheel), TARsals for walking on TAR.” Creating personal associations is very effective.